
-

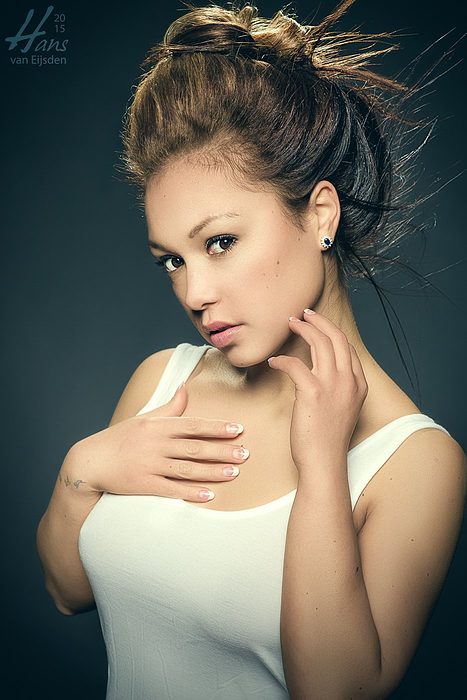
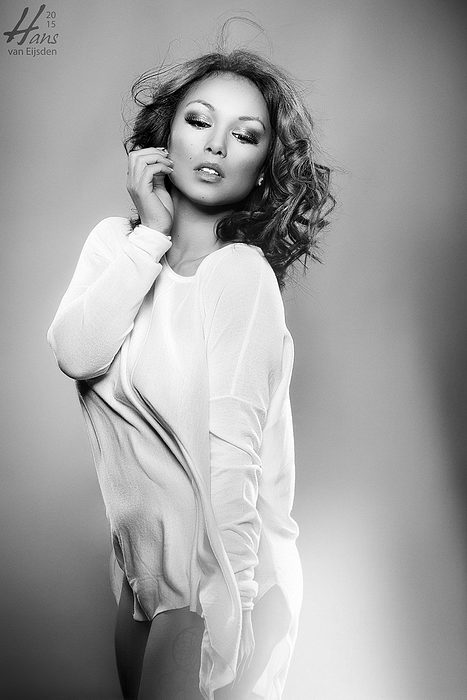
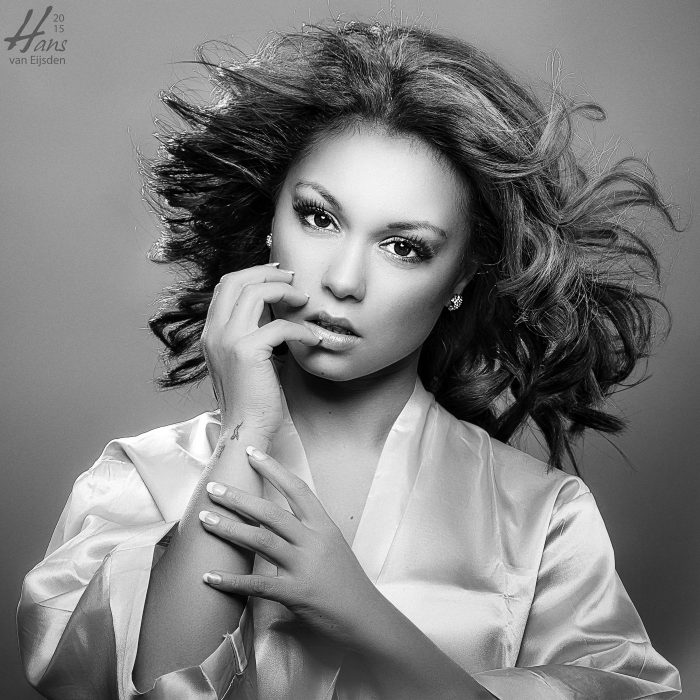
Kristel (1.3s at f/9 on 50mm) – Studio Hans van Eijsden Photogra, Zwolle, Netherlands
-
Kristel (1.3s at f/9 on 50mm) – Studio Hans van Eijsden Photogra, Zwolle, Netherlands
-
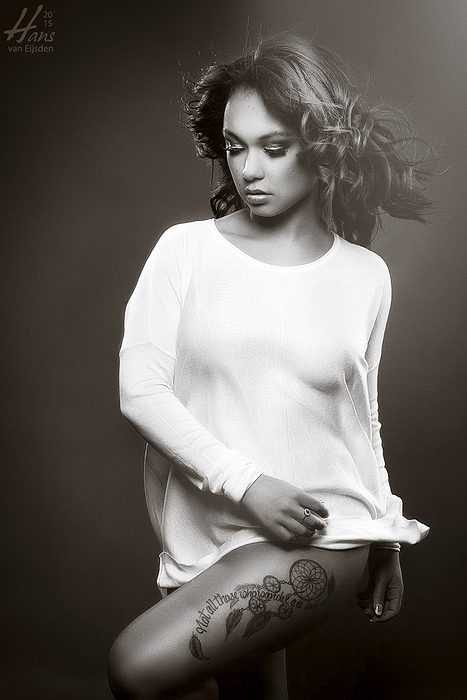
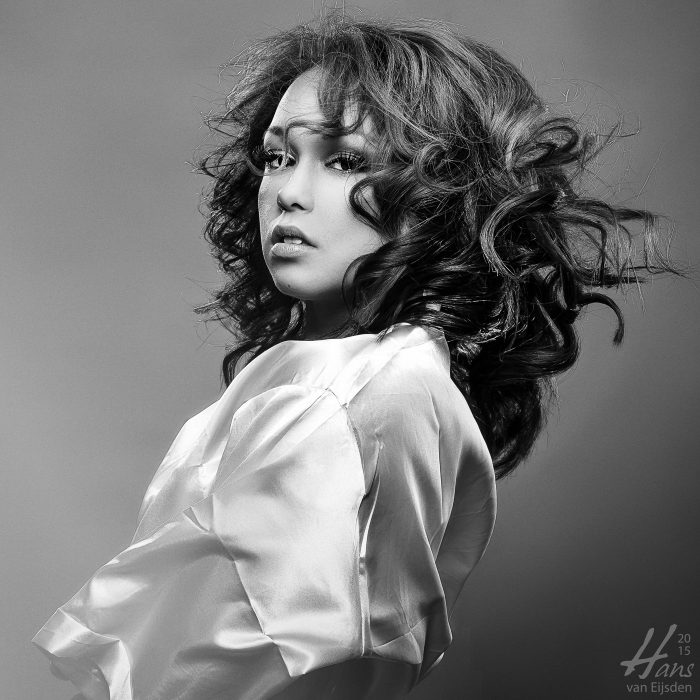
Kristel (1.3s at f/11 on 85mm) – Studio Hans van Eijsden Photogra, Zwolle, Netherlands
-
Kristel (1/200s at f/8 on 50mm) – Studio Hans van Eijsden Photogra, Zwolle, Netherlands
-
Kristel (1/200s at f/6.3 on 85mm) – Studio Hans van Eijsden Photogra, Zwolle, Netherlands
-
Kristel (1/200s at f/9 on 85mm) – Studio Hans van Eijsden Photogra, Zwolle, Netherlands
-
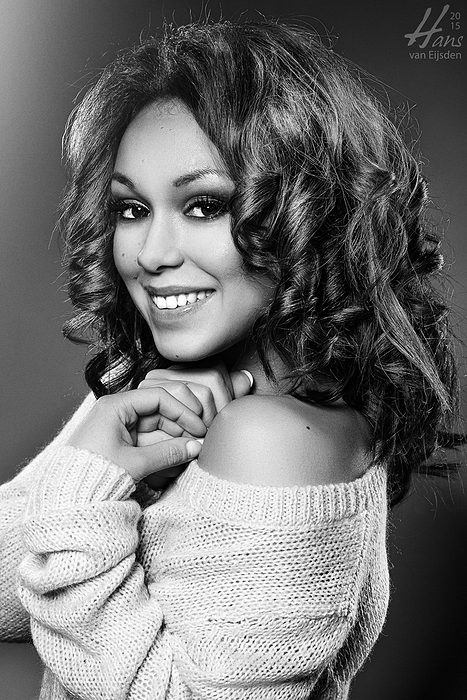
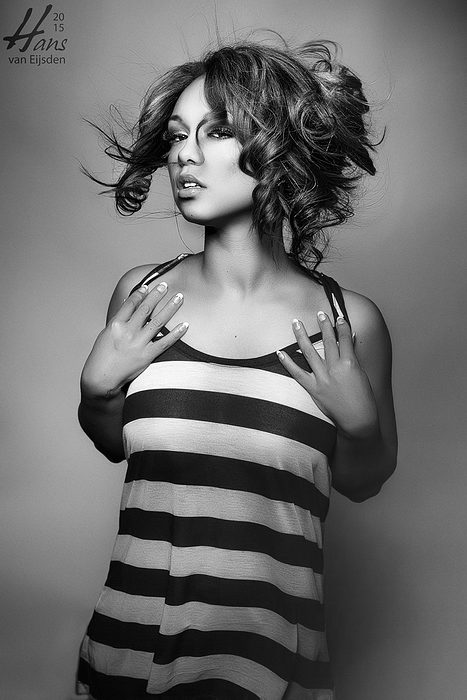
Kristel (1/200s at f/9 on 50mm) – Studio Hans van Eijsden Photogra, Zwolle, Netherlands
-
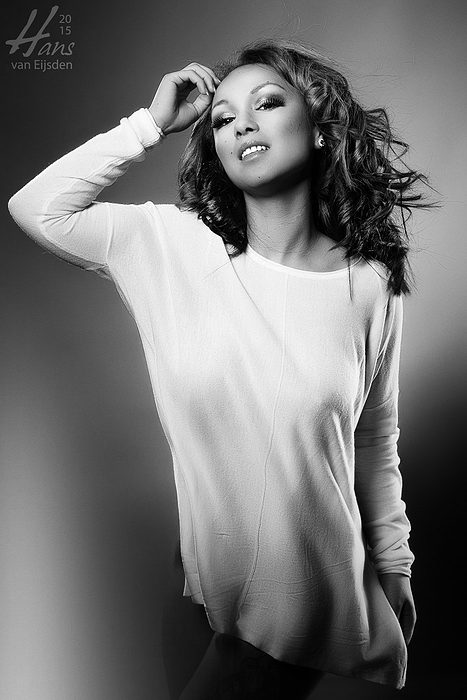
Kristel (1/200s at f/9 on 85mm) – Studio Hans van Eijsden Photogra, Zwolle, Netherlands
-
Kristel (1/200s at f/8 on 85mm) – Studio Hans van Eijsden Photogra, Zwolle, Netherlands
-
Kristel (1/200s at f/9 on 85mm) – Studio Hans van Eijsden Photogra, Zwolle, Netherlands
-
Kristel (1/200s at f/9 on 85mm) – Studio Hans van Eijsden Photogra, Zwolle, Netherlands
-
Kristel (1/200s at f/9 on 85mm) – Studio Hans van Eijsden Photogra, Zwolle, Netherlands
-
Kristel (1/200s at f/9 on 85mm) – Studio Hans van Eijsden Photogra, Zwolle, Netherlands
-

Kristel (1/200s at f/9 on 85mm) – Studio Hans van Eijsden Photogra, Zwolle, Netherlands
-
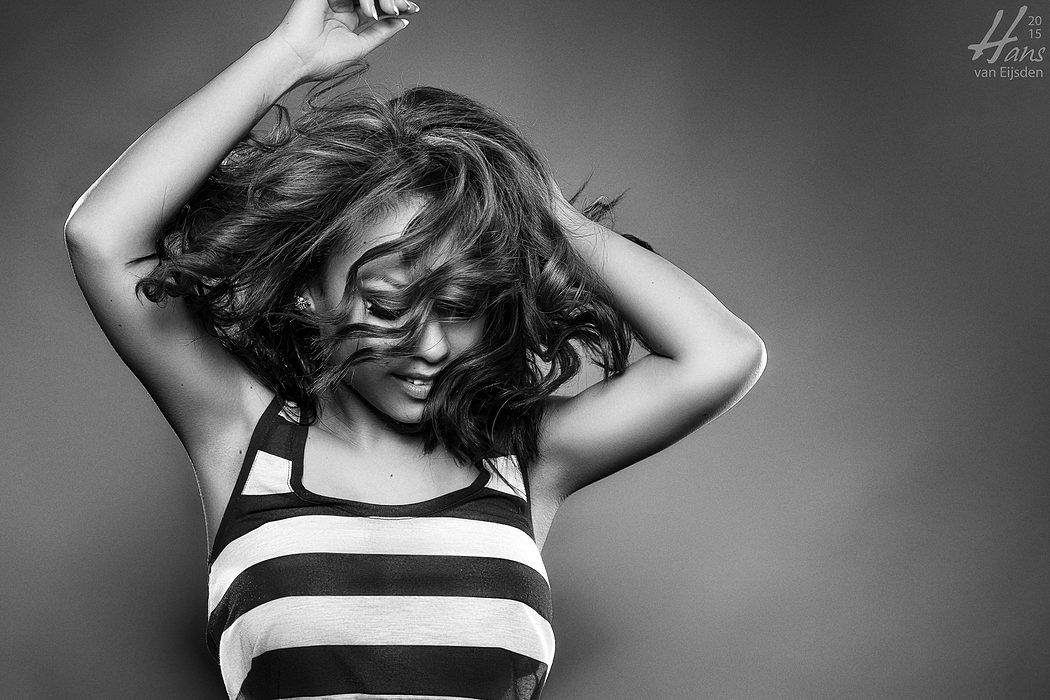
Kristel (1/200s at f/8 on 85mm) – Studio Hans van Eijsden Photogra, Zwolle, Netherlands
-
Kristel (1/200s at f/10 on 85mm) – Studio Hans van Eijsden Photogra, Zwolle, Netherlands
-

Kristel (1/200s at f/5.6 on 85mm) – Studio Hans van Eijsden Photogra, Zwolle, Netherlands
-
Kristel (1/200s at f/6.3 on 85mm) – Studio Hans van Eijsden Photogra, Zwolle, Netherlands
-
Kristel (1/200s at f/6.3 on 85mm) – Studio Hans van Eijsden Photogra, Zwolle, Netherlands
-
Kristel (1/200s at f/6.3 on 85mm) – Studio Hans van Eijsden Photogra, Zwolle, Netherlands
-
Kristel (1.3s at f/11 on 85mm) – Studio Hans van Eijsden Photogra, Zwolle, Netherlands
-
Kristel (1/200s at f/8 on 50mm) – Studio Hans van Eijsden Photogra, Zwolle, Netherlands


Double exposure in one photo.. without Photoshop
| 22 Foto’sThis post is also available in:
 Engels
The concept of pure double exposure photography without using Photoshop or other editing tools is quite old already. But nowadays, while using those original double exposure techniques, people still give me compliments… for the Photoshop work. Wrong! It’s all in the light. 🙂
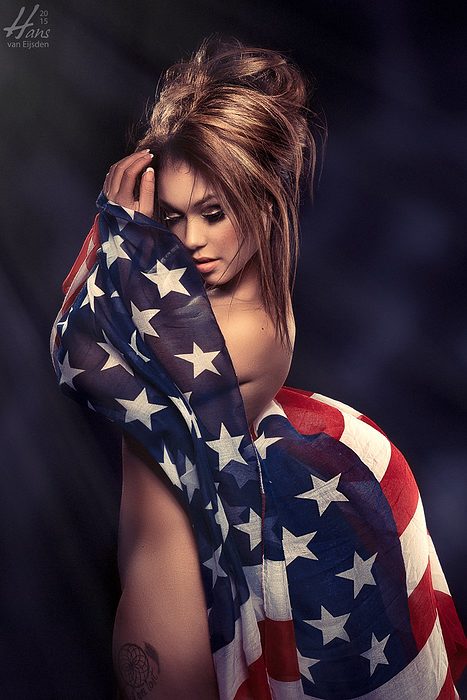
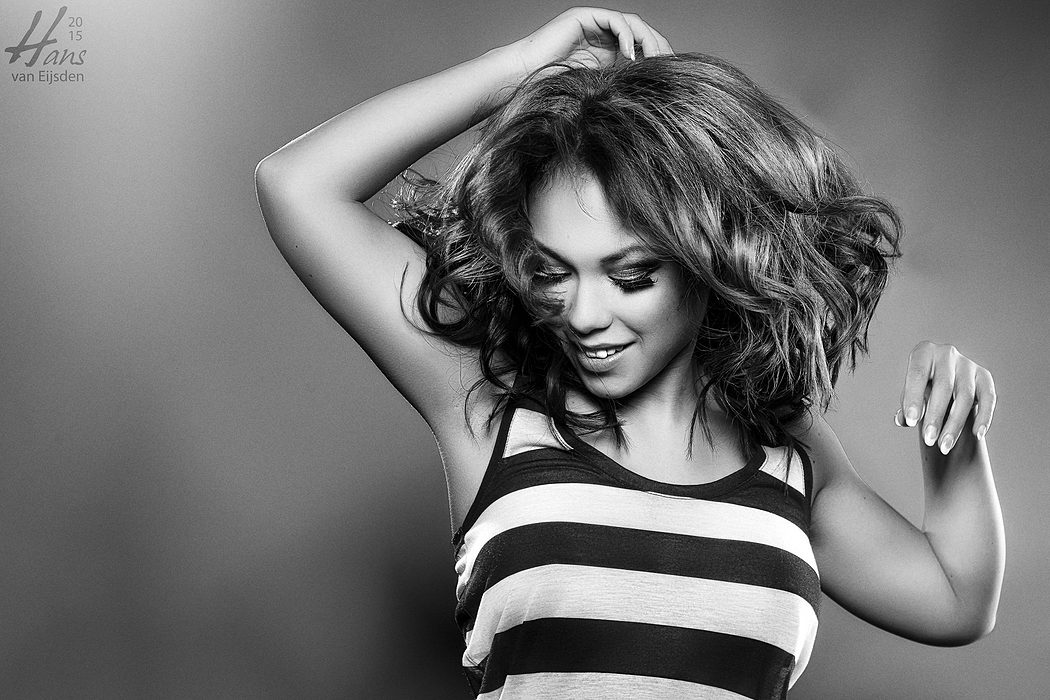
Kristel (1.3s at f/9 on 50mm) – Studio Hans van Eijsden, Zwolle, Netherlands
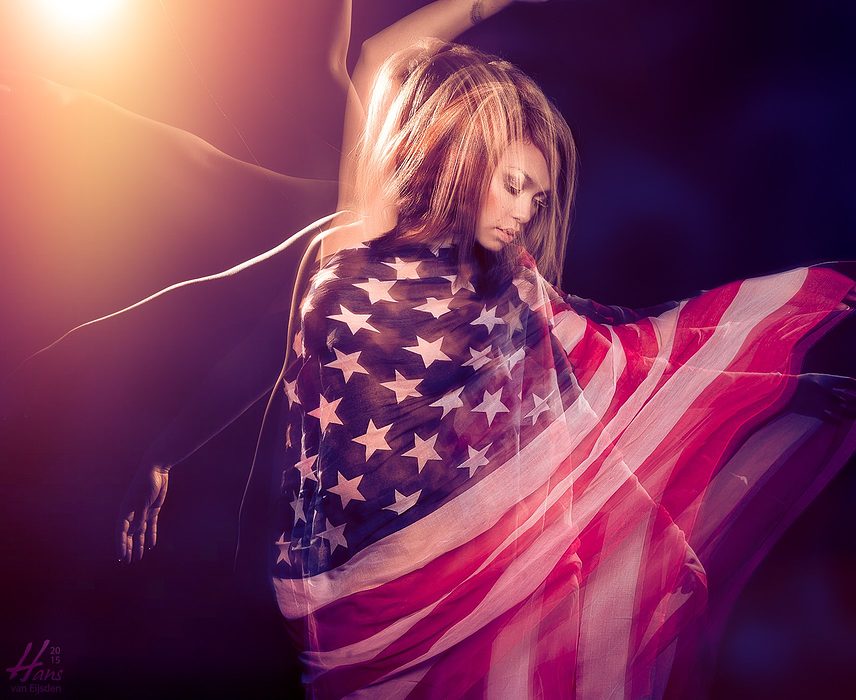
Let me present you Kristel, a beautiful exotic lady and always ready to make each day a fun day, full of energy.
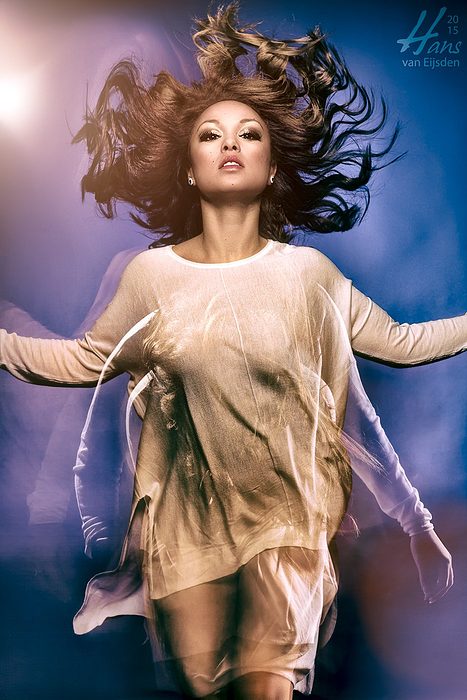
We wanted to be extra creative so I decided to work with stroboscopic and delay effects.
With the camera on a tripod I opened the shutter for 1.3 seconds. Within those seconds I made multiple flashes with the background lights to create multiple silhouettes of her arms and at the end of the exposure, at 1.2 seconds, I fired the main key light to freeze her and to light her face.

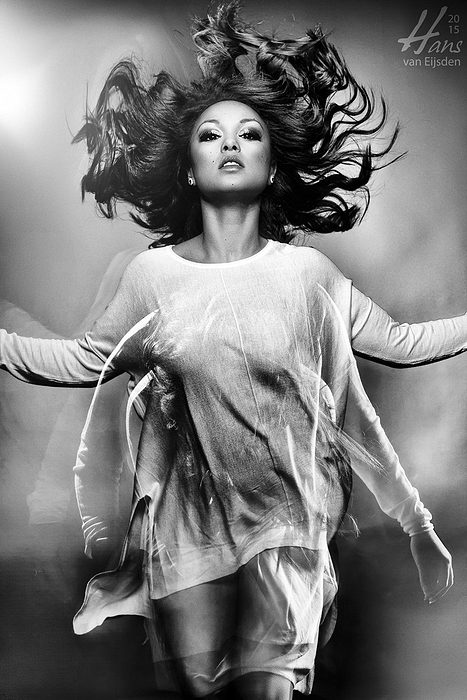
Kristel (1.3s at f/11 on 85mm) – Studio Hans van Eijsden, Zwolle, Netherlands
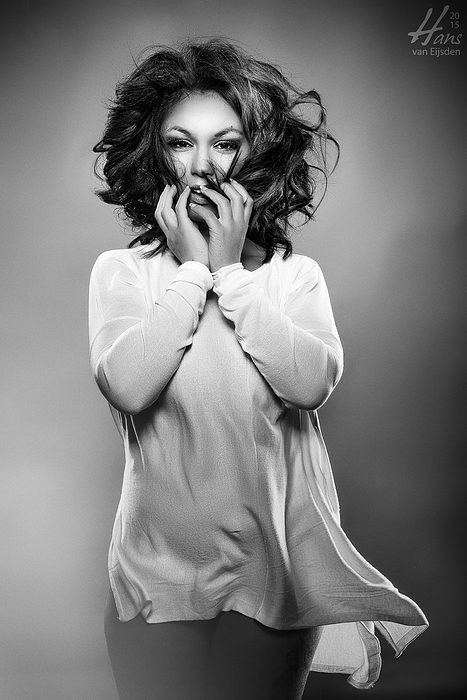
As you can see in these examples, the result of a double exposure can be a visually more creative image with a different kind of feeling, look, sense of motion.
By playing with the sequence of the lights and the order of the firing of the flashes I could make her arms the first 3 flashes like a silhouette, rim lighted by the back lights. And the last flash has been given by the key light, to freeze her face and arms above her face.
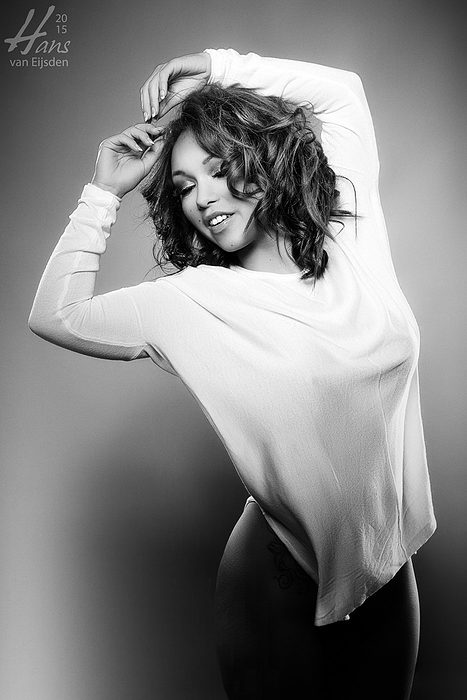
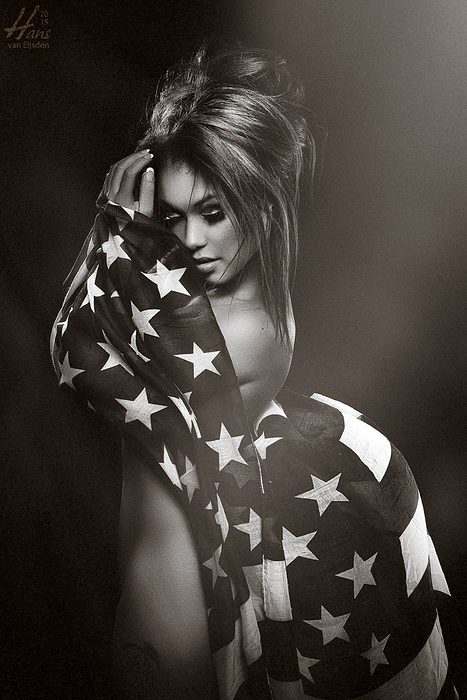
To make absolutely sharp images with a stunning amount of detail, perfectly frozen, I used very short flash durations of less than 1/5000 of a second. It gives me more possibilities without having to worry about moving the camera too much. By using a small aperture (large number) I gave myself and Kristel more room for error, more space to move, as a small lens aperture makes it easier to have a large part of the model in focus. Together with the great stopping power of these Elinchrom lights these shots came out tack sharp. 🙂
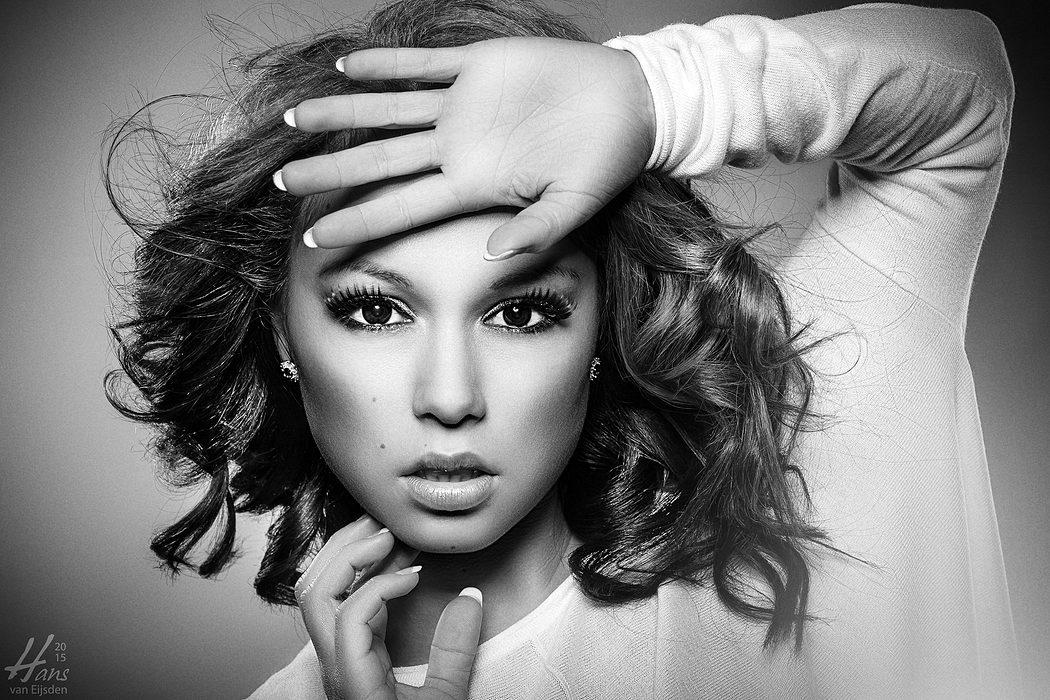
For most of these images I used a Beauty Dish with grid from the front-top-side, as key light which creates the higher contrast in her face. The grid restricts the light and bundles it to her face. I used several small flagged lights with snoots pointing to the hair, all with grids and flagged. I measured the light with the Sekonic L-758DR, which gave me an exposure accuracy of 1/10 stop, which also eliminates the need for using Photoshop (or other software) to correct exposure.
Of course I used editing software, but only for some subtle clone work near the hair, some subtle local selective curves, for converting to greyscale and of course to apply my ColorChecker Passport profiling.
More will follow! 😉
Geef een reactie